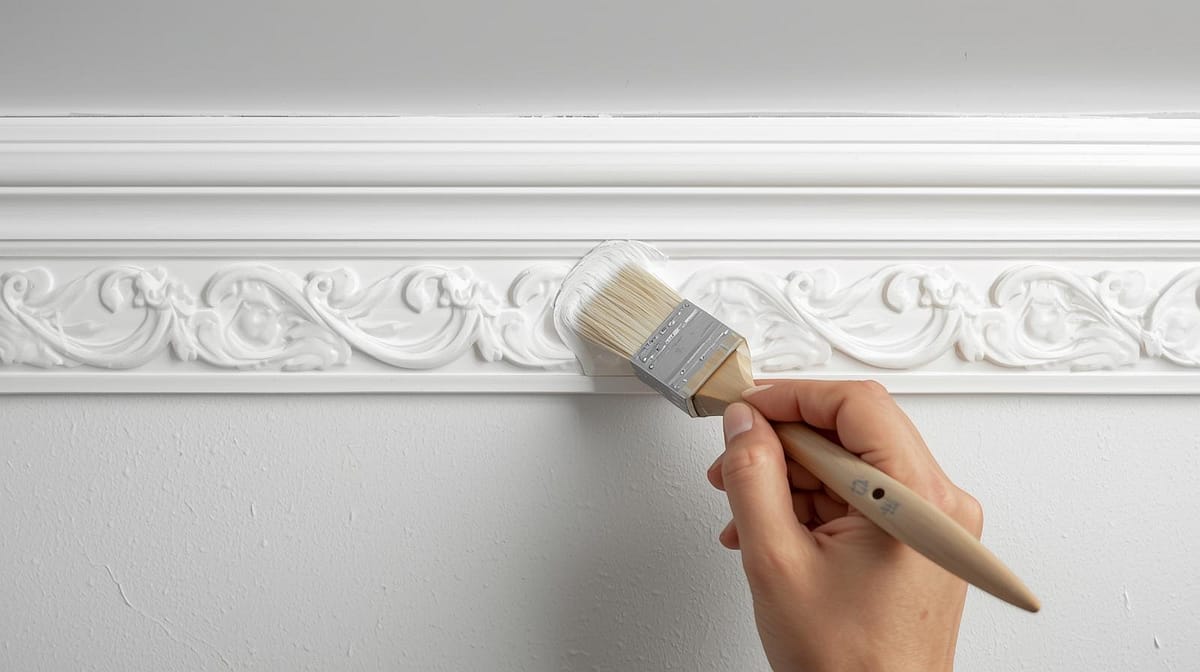
How to Paint Around Decorative Moldings Without Bleeding or Overlap
![]() Justin Leibach
on
October 24, 2025
Justin Leibach
on
October 24, 2025
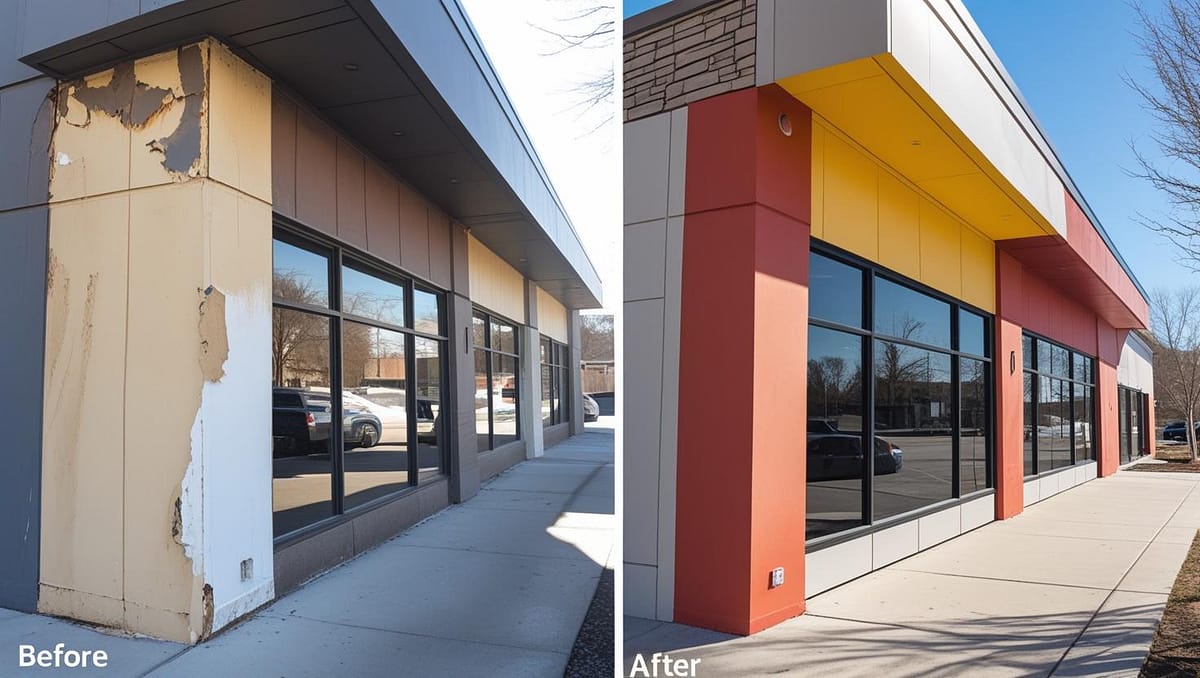
Painting around decorative moldings can instantly elevate a room’s look, but it’s also one of the trickiest parts of house painting. Whether you’re working on interior painting projects in McHenry, Illinois, or simply refreshing your living space, one wrong brush stroke can lead to messy lines, paint bleed, or unwanted overlap.
This guide walks you through proven techniques, tools, and painter-recommended methods to achieve crisp, clean lines around decorative trim and moldings.
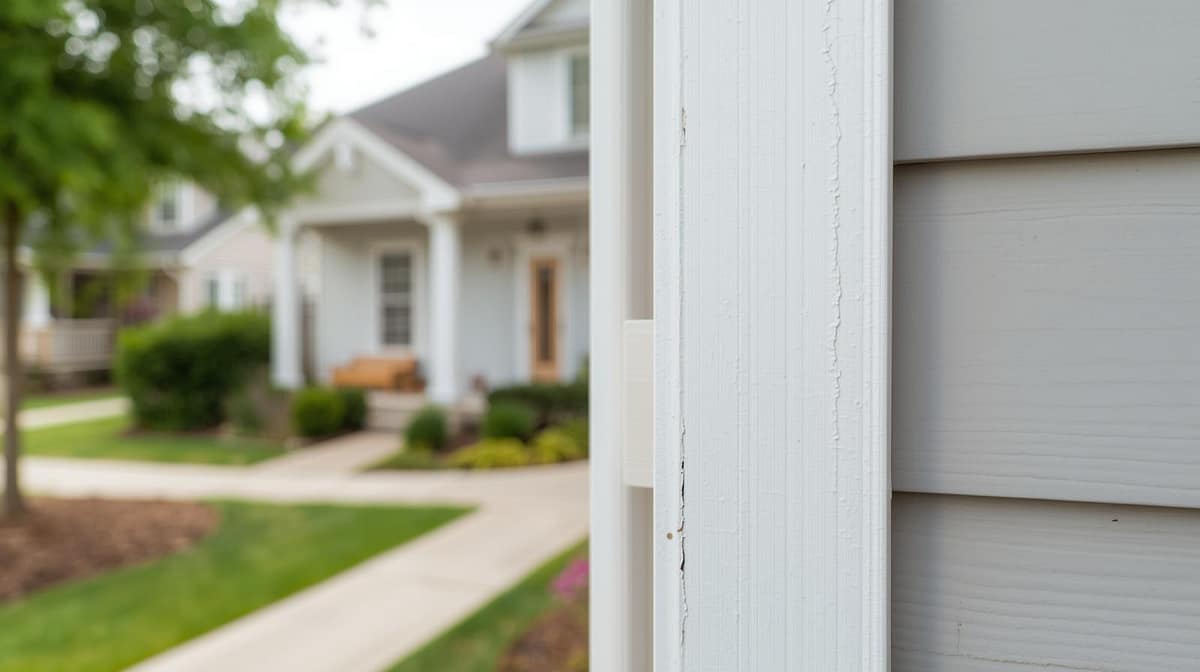
Why Painting Around Decorative Moldings Is Challenging
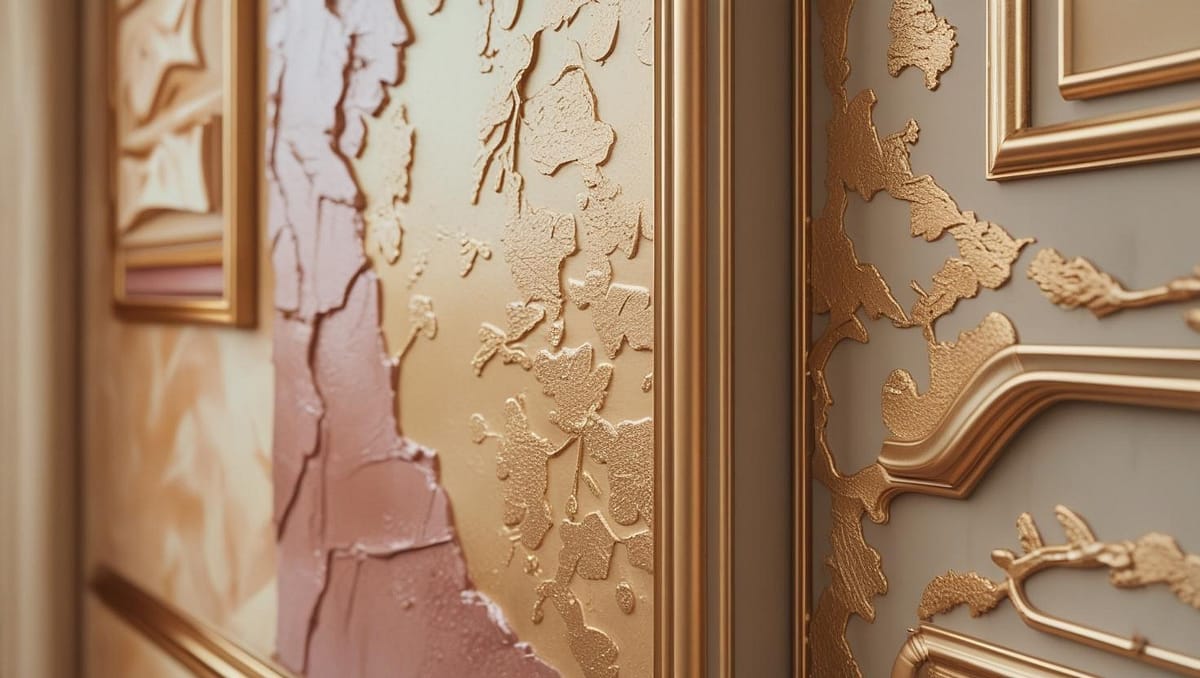
Decorative moldings, such as crown molding, chair rails, baseboards, and window trim, add texture and style—but their edges create opportunities for paint to bleed, feather, or overlap onto walls and ceilings.
A study by Houzz found that 78% of homeowners report trim and moldings as the most frustrating part of DIY interior painting. The key to solving this issue lies in prep, precision, and technique.
Step-by-Step Guide: Painting Around Decorative Moldings Like a Pro
1. Prep the Surface
“Perfect painting results start with preparation.” – Professional Painter’s Association
- Clean moldings with a damp cloth to remove dust and grime.
- Lightly sand glossy trim so the paint adheres properly.
- Apply painter’s tape along the edges of the molding.
2. Use the Right Painter’s Tape
Not all tapes are equal. Cheap tape can lead to bleeding, while high-quality options create crisp edges.
Type of Painter’s Tape | Best Use | Pros | Cons |
Blue Painter’s Tape | Walls & ceilings | Affordable, widely available | May bleed if not sealed |
Green FrogTape | Decorative moldings & trim | PaintBlock® technology prevents bleed | More expensive |
Delicate Surface Tape | Recently painted areas | Gentle adhesive | Less durable |
Pro Tip: Press tape firmly with a putty knife to seal the edge and prevent bleeding.
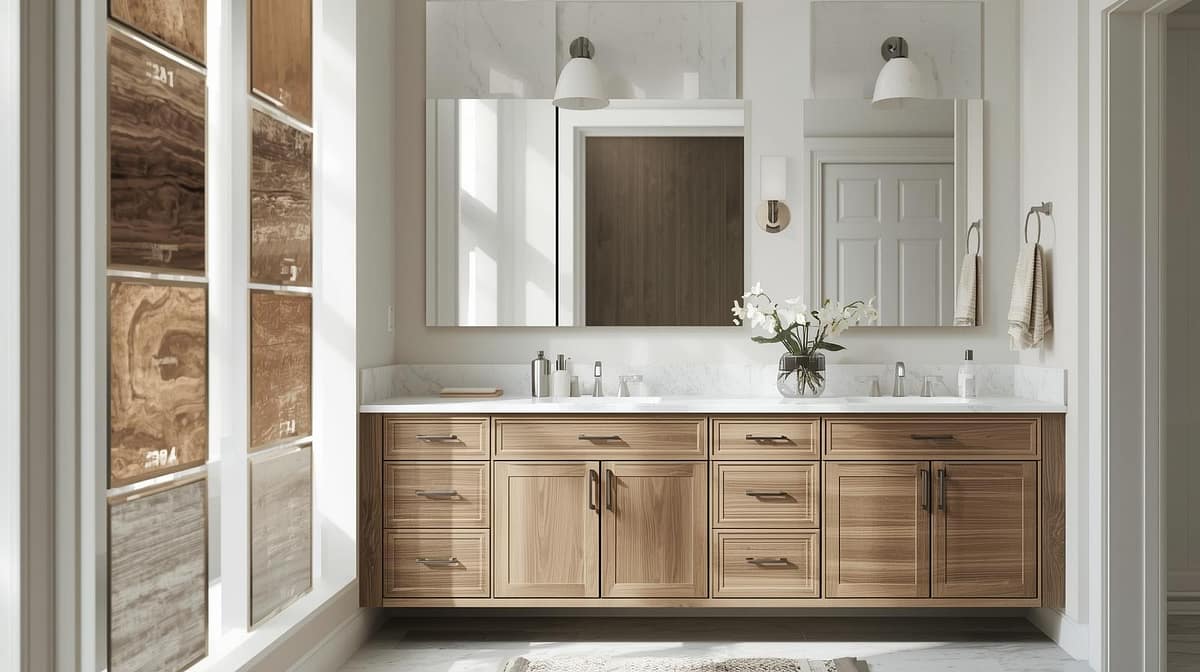
3. Master the Cutting-In Technique
- Use a 2-inch angled sash brush designed for trim and edges.
- Dip only the tip of the brush into the paint.
- Apply with slow, steady strokes along the edge of the molding.
This creates a professional finish and reduces overlap.
4. Seal the Tape Line
Before applying the wall color, “seal” the tape by brushing the molding color along the tape edge. Once it dries, apply the wall color. This prevents paint bleed under the tape.
5. Remove Tape at the Right Time
- Peel tape at a 45-degree angle while the paint is still slightly tacky.
- Waiting until it’s fully dry can cause peeling or jagged edges.
Common Mistakes to Avoid
- Overloading the brush → Causes drips and overlap.
- Skipping prep work → Dust and oils prevent smooth adhesion.
- Using old tape → Adhesive breakdown increases bleed risk.
DIY vs. Professional Painting for Decorative Moldings
Factor | DIY | Professional Painter |
Cost | Lower upfront | Higher, but long-term savings |
Time | Slower | Faster & more efficient |
Quality | Varies, risk of bleed/overlap | Crisp lines, expert finish |
Tools | Basic brushes & tape | Professional-grade equipment |
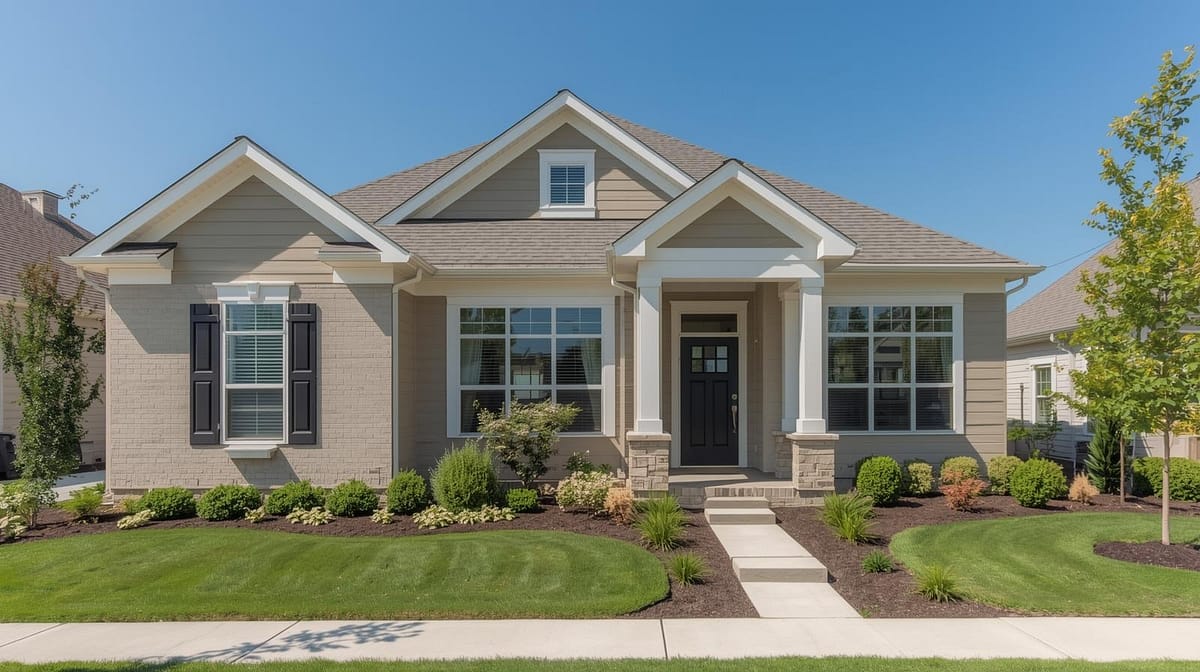
If your home features ornate crown moldings or intricate trim, hiring professionals like Allegiant Painting in McHenry, IL ensures flawless results.
Expert Tips From Allegiant Painting
- Invest in quality brushes: Cheap brushes shed bristles and ruin smooth lines.
- Don’t rush drying times: Allow trim paint to cure before taping over it.
- Work in natural light: Shadows can hide missed spots or uneven edges.
FAQ: Painting Around Decorative Moldings
Q: How do I stop paint from bleeding under painter’s tape?
A: Seal the tape edge with the molding color first, then apply the wall color.
Q: What brush is best for painting around moldings?
A: A 2-inch angled sash brush is the professional standard.
Q: Should I paint trim or walls first?
A: Professionals often paint trim first, then tape it off before painting walls.
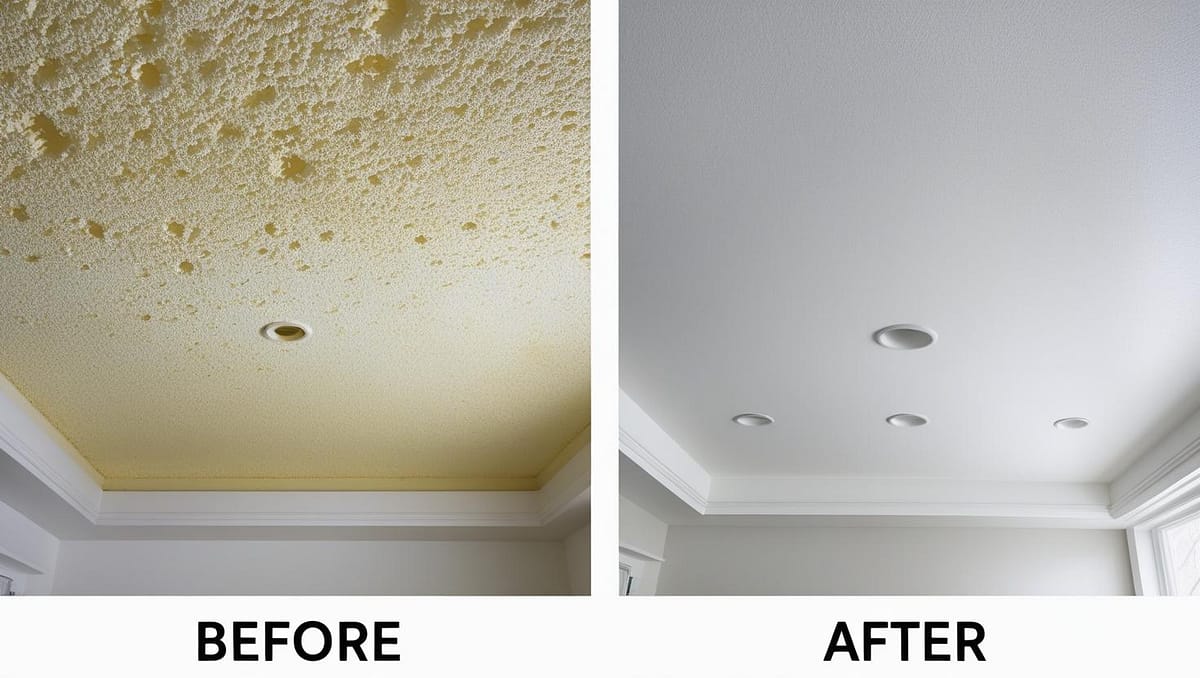
Final Thoughts
Painting around decorative moldings requires patience, precision, and the right tools. With proper prep, high-quality painter’s tape, and professional cutting-in techniques, you can avoid bleeding and overlap for a polished look.
For homeowners in McHenry, Illinois, Allegiant Painting brings experience, expertise, and trusted craftsmanship to every house painting project. If you want flawless results without the frustration, contact our team today.